

Add people to your organization
Add Full Members and Light Members, find and edit them, and import many people at once from a file.
On this page
Add everyone you plan work for, so they show up in the calendar, timesheets and reports. Full Members can log in and get an invitation. To invite one quickly, you only need their email. Light Members are listed and bookable but do not log in.
Before you start
- You need the Owner or Manager role.
- Check that you have a free seat. The Startup Plan includes up to 2 Full Members and no Light Members. On a paid plan, adding a person beyond your seats asks you to buy more seats (Owners only).
- Optional: set up organizational units and custom fields first.
Invite a teammate
Use this when you only know the person's email. Everything else can be filled in later.
- Go to Settings and open People.
- Click the green + button.
- Choose Invite teammate.
- Enter the person's email under Email.
- Under Role, choose Regular, Manager or Owner. Regular is selected by default, and only Owners can pick Owner.
- Click Send invite.
The person is added as a Full Member and gets an invitation email. Their card shows Pending Invitation until they activate their account. Their name comes from the email, so jan.kowalski@company.example becomes Jan Kowalski. You can change it later in Edit a person. They join your default organizational unit and get the same default values as the full form (for example custom field defaults and the role's access).
A line under the role shows what the invite does to your seats:
- On a paid monthly plan, Owners see the seat change and, when the price is available, the new monthly total before tax and discounts. Managers see the seat change only.
- With prepaid seats, it shows how many of your prepaid seats are used.
- During a trial, it says a paid seat is added when your trial ends.
- On the Startup Plan, it shows the number of members against the limit. At the limit you cannot send the invite.
Sometimes no seat line shows. The invite still works. A pending invitation already uses a seat.
To set more than an email and a role, such as the unit, custom fields, availability or visible projects, click More options. The full Add new person form opens as a Full Member with the email and role filled in. If your organization requires extra person details that have no default value, the dialog tells you and offers Continue in full form, which opens the same form with Custom fields already expanded.
If the email cannot be invited, the dialog explains why: the email was already invited, the person is already a member, the address is not valid, or you tried to invite an Owner without being one.
Add a person
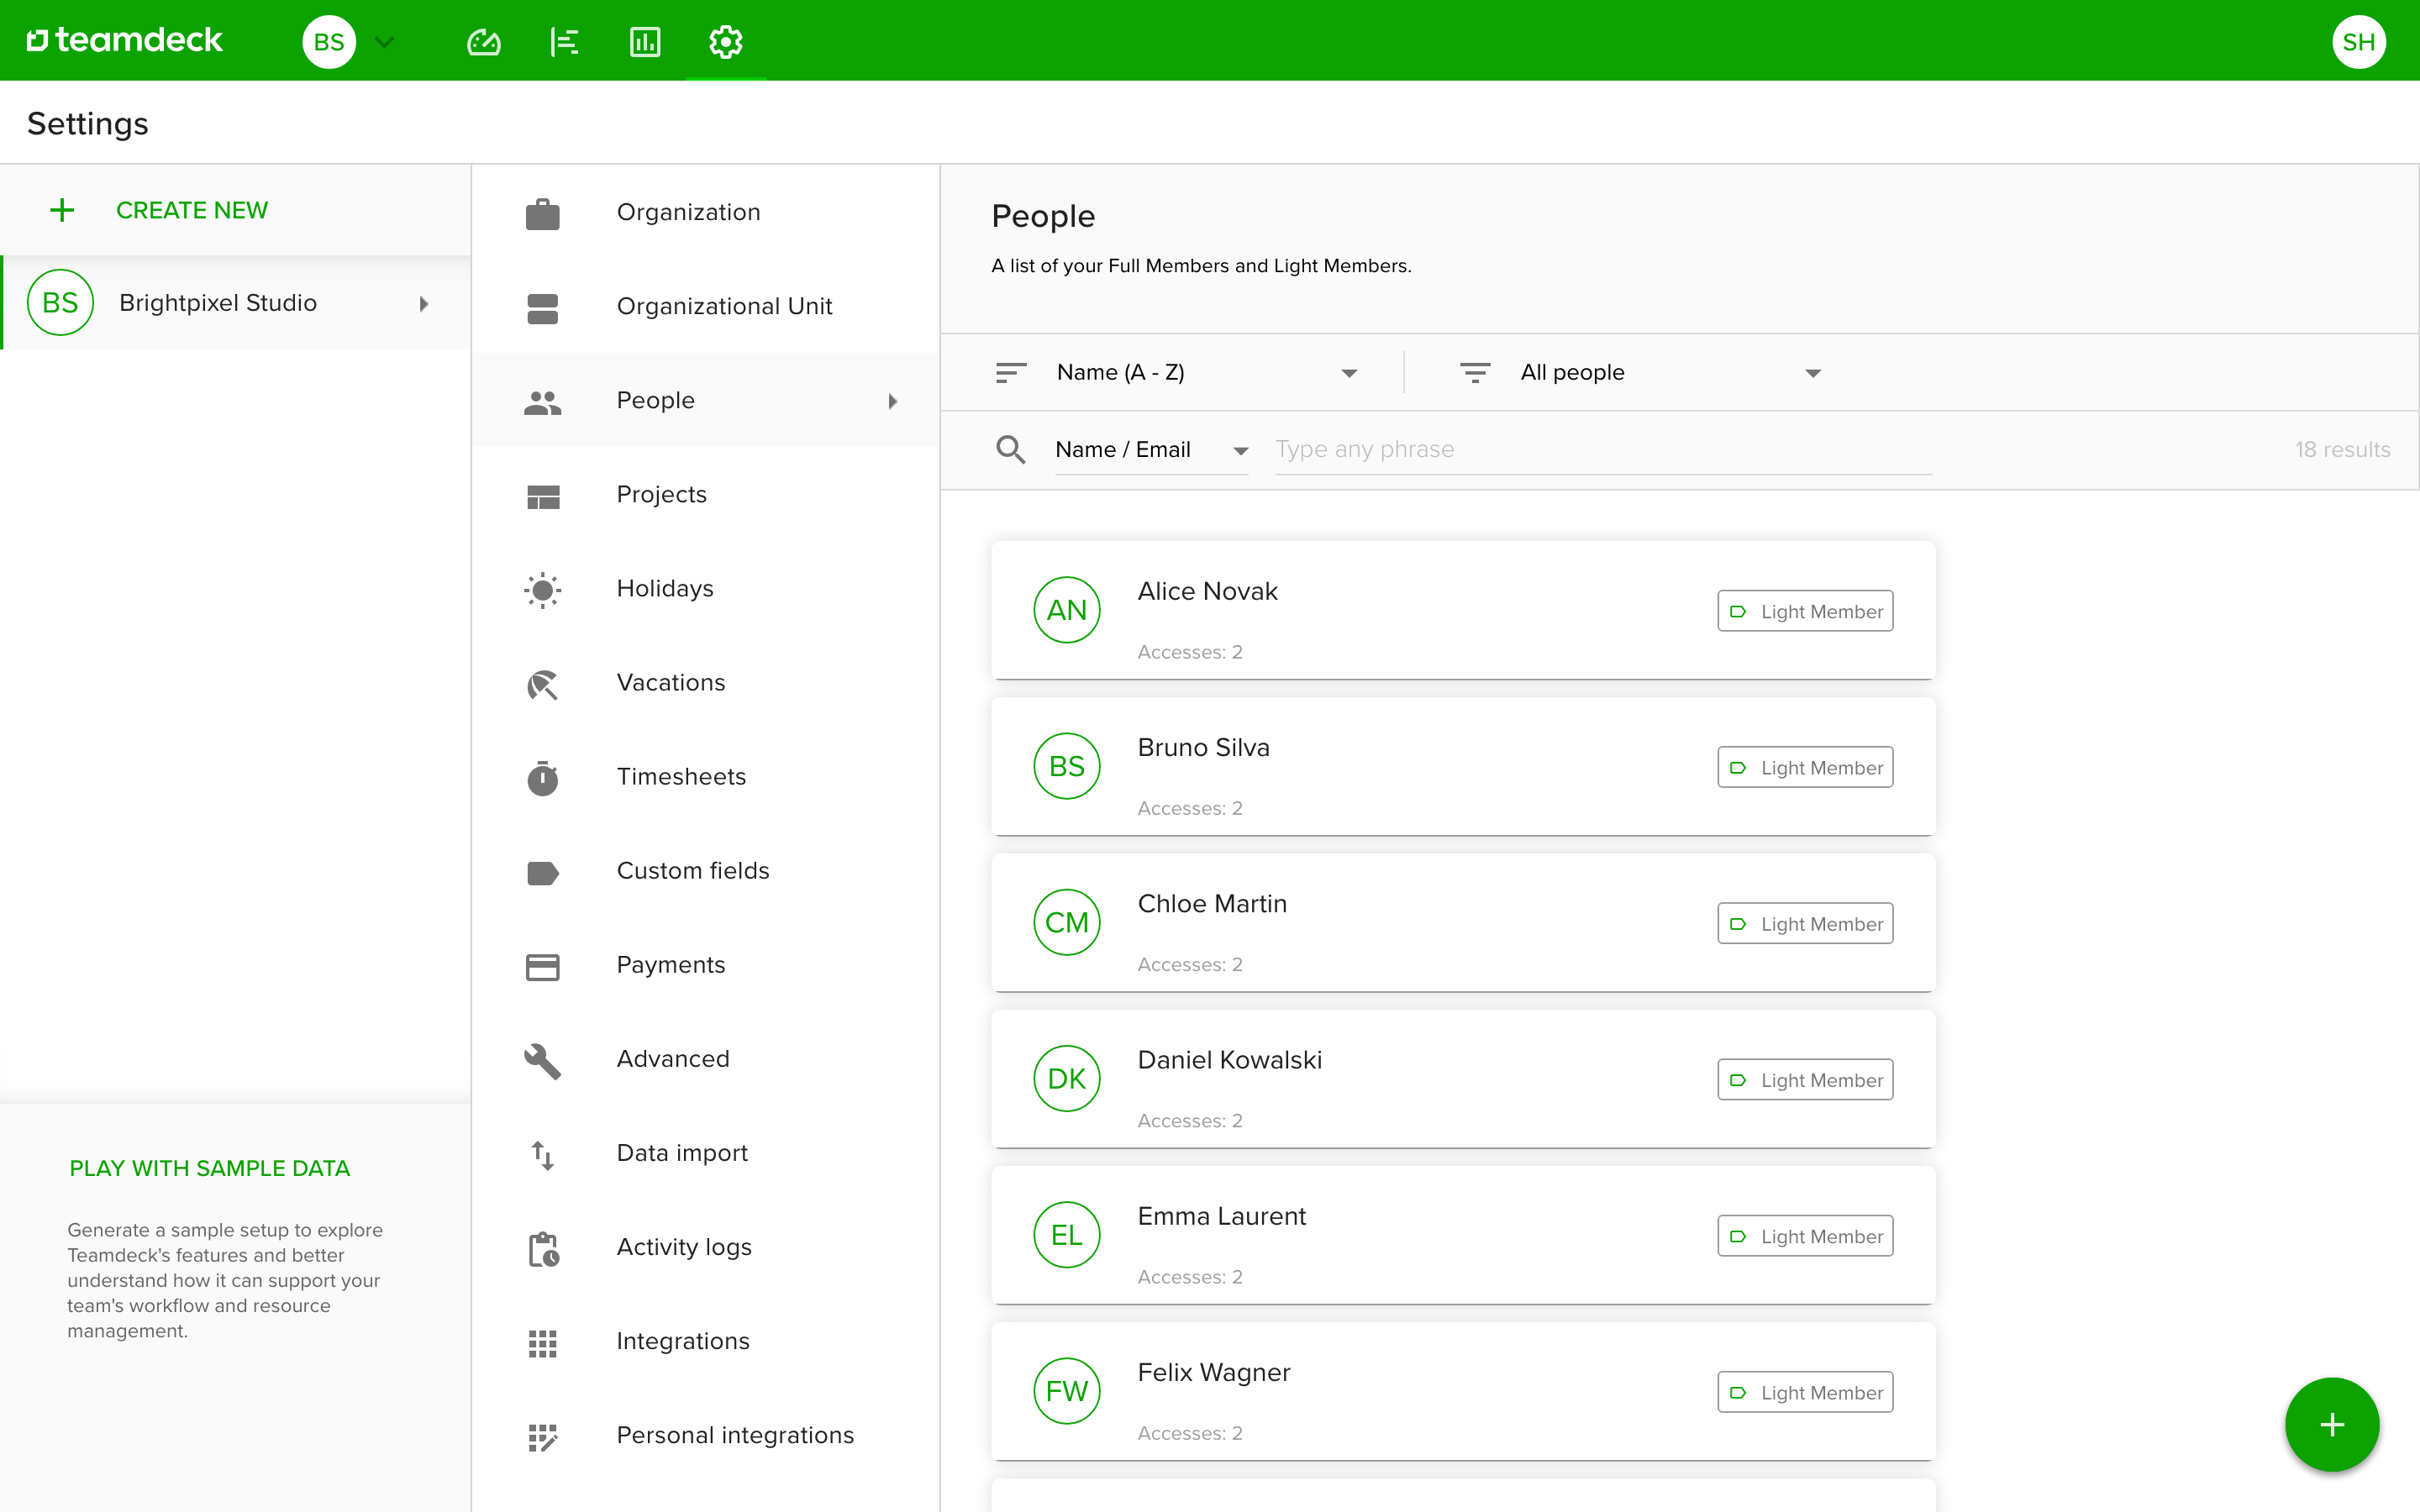
- Go to Settings and open People.
- Click the green + button and choose Add new person.
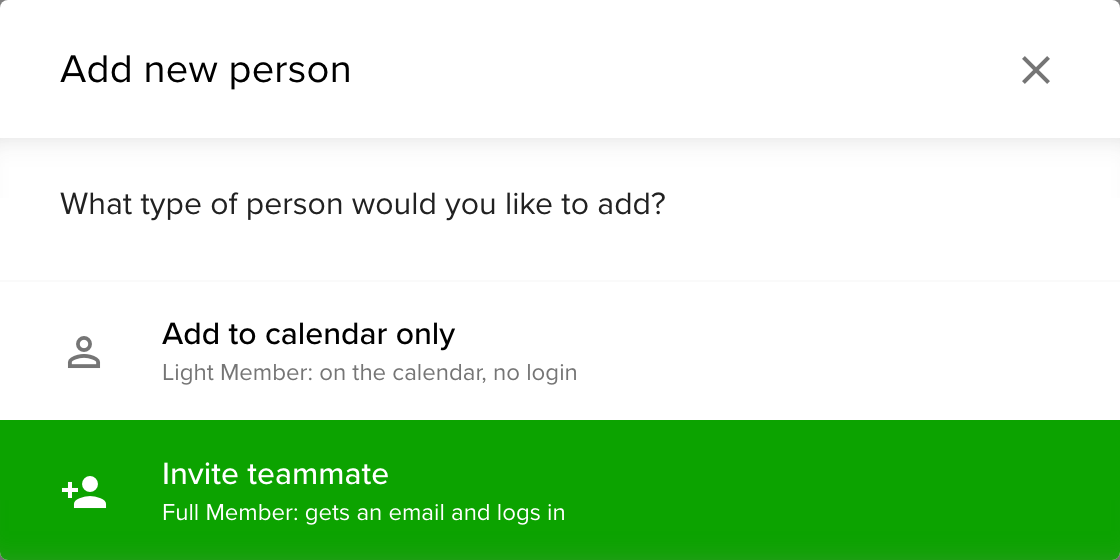
- Choose Add to calendar only for a Light Member, or Invite teammate for a Full Member.
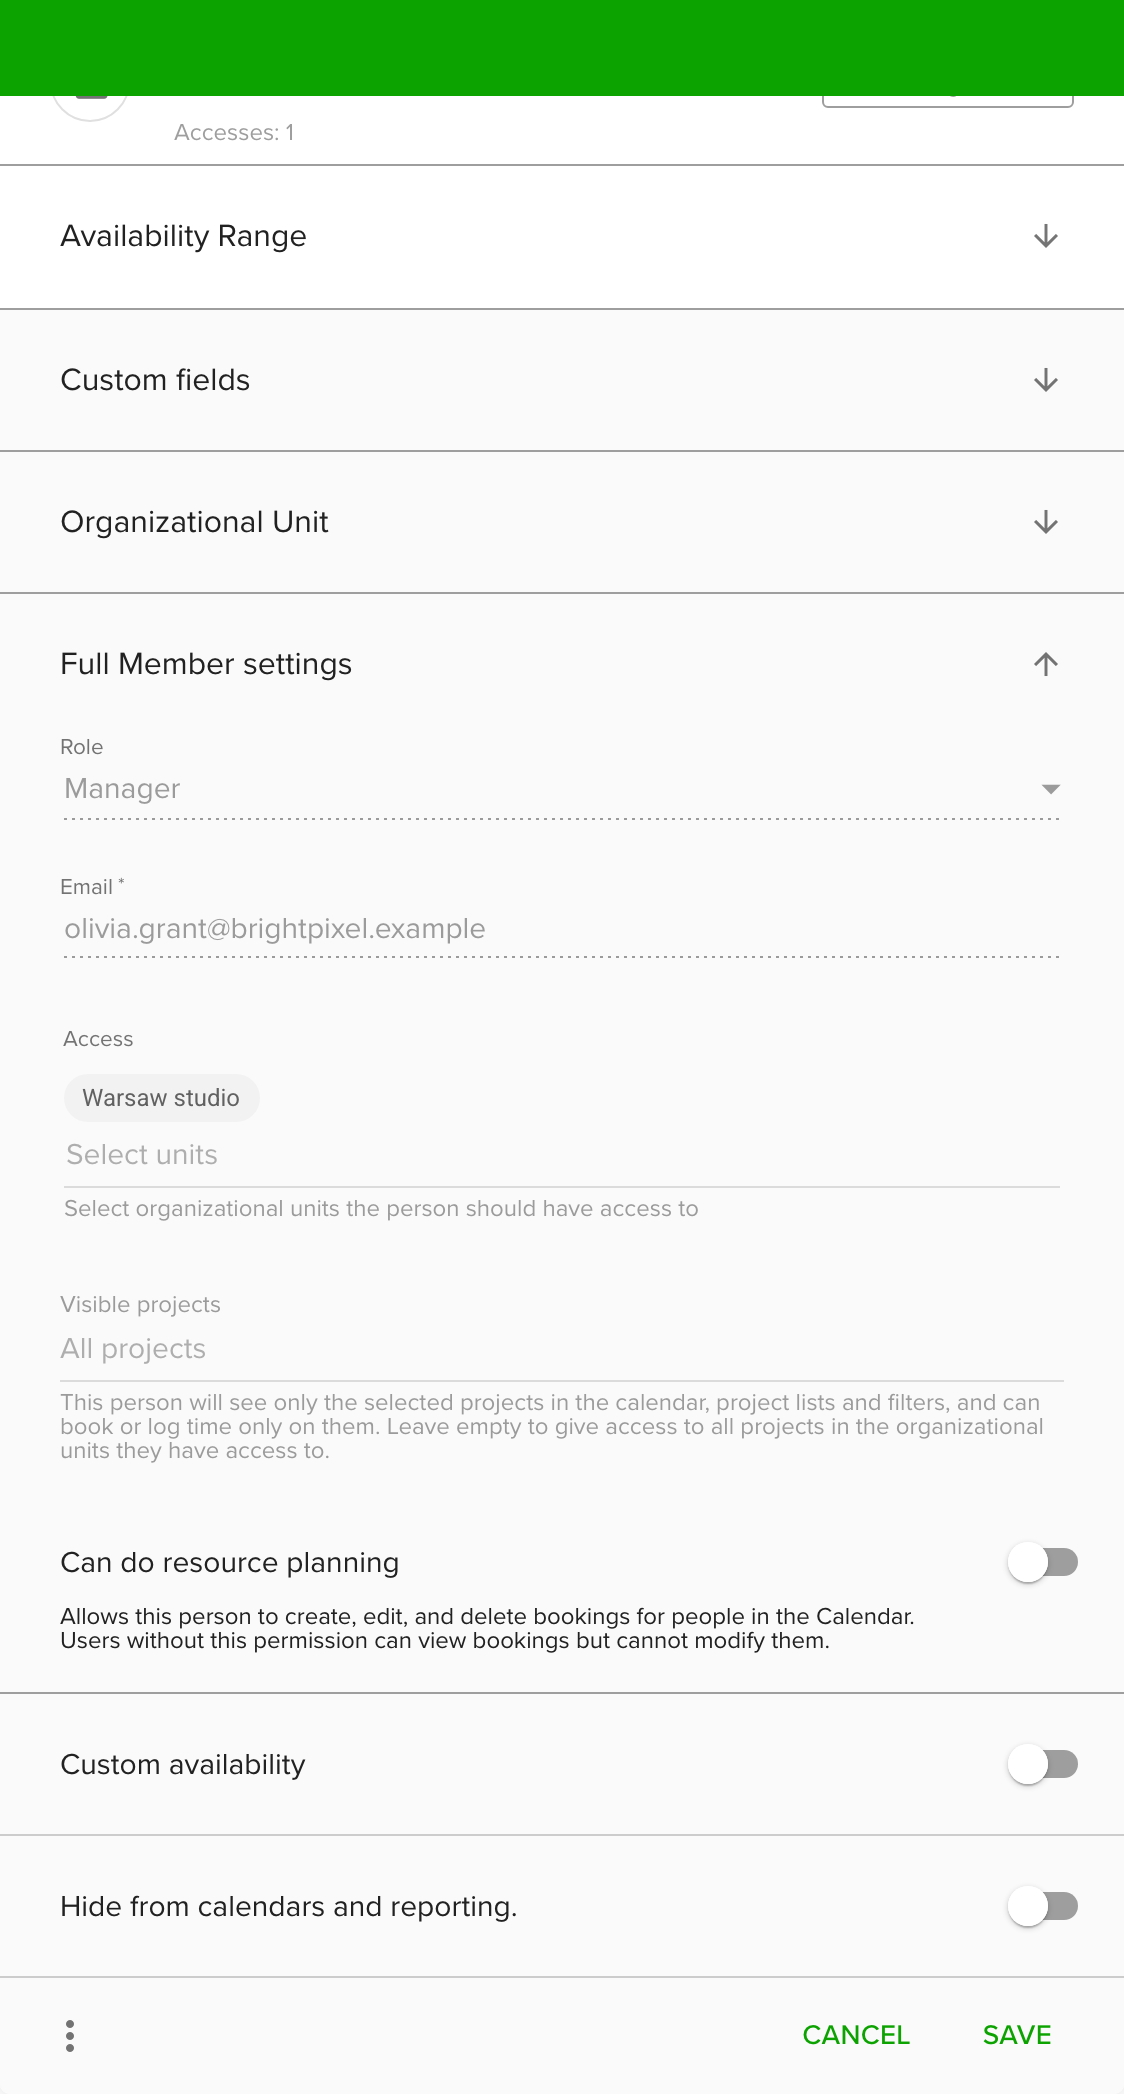
- Enter the person's name.
- Fill in any custom fields you need.
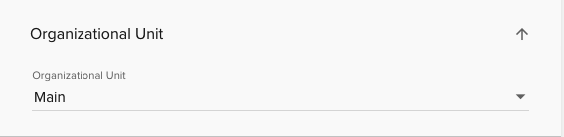
- Under Organizational Unit, choose the person's unit. Its bank holidays apply to them.
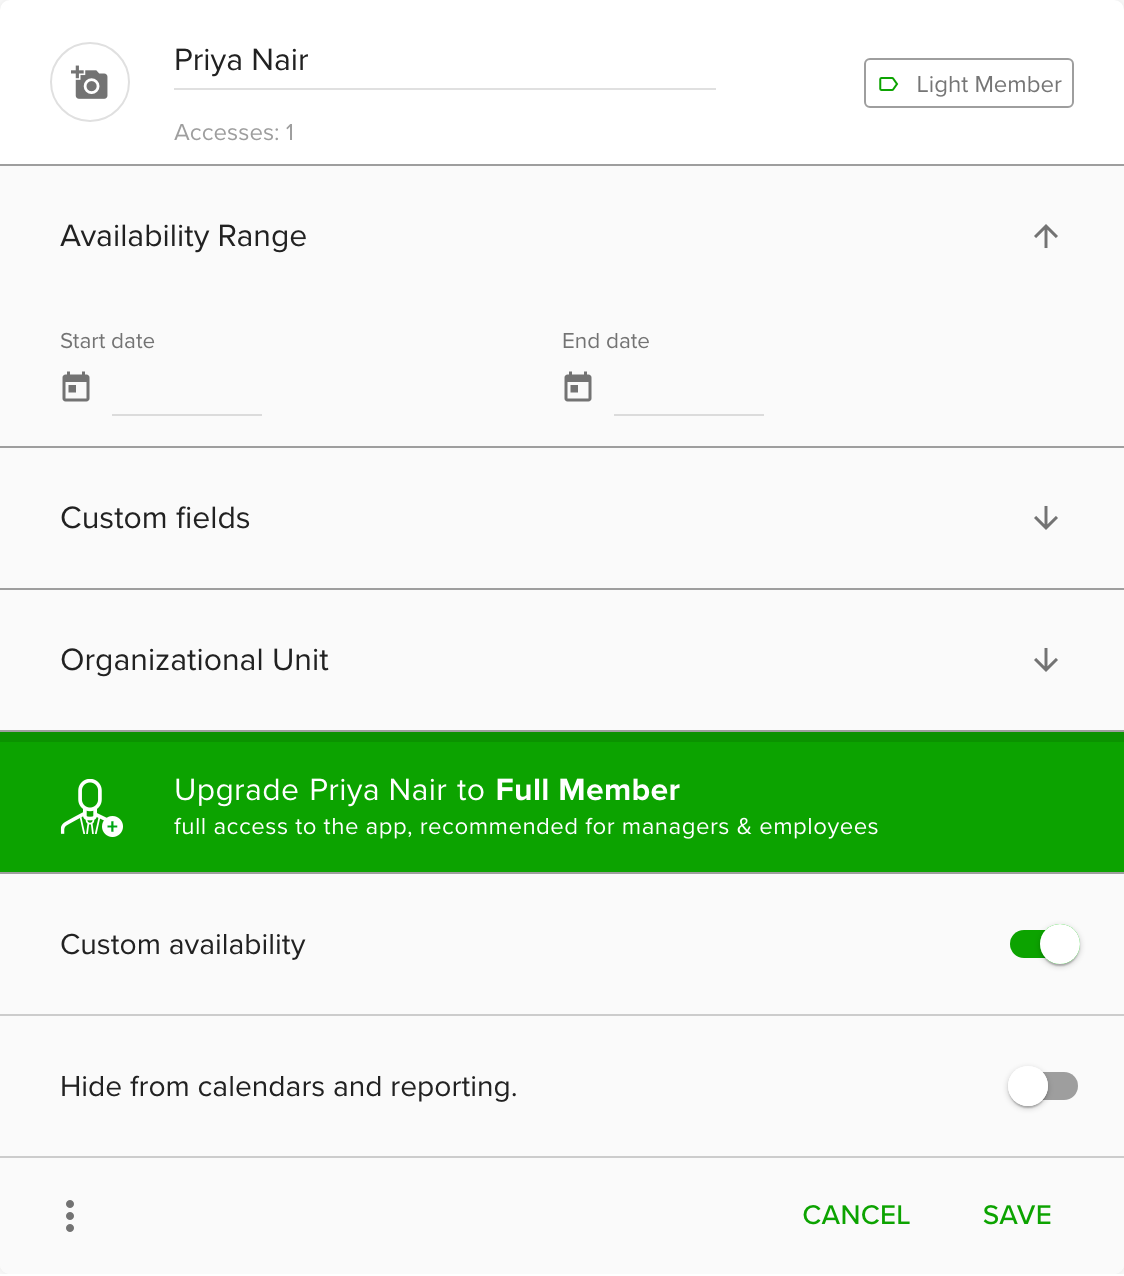
- Optional: under Availability Range, set contract start and end dates.
- Optional: switch on Custom availability for people who work part time and set their own hours. Switch on Hide from calendars and reporting to keep the person out of the calendar and reports.
- For a Full Member, expand Full Member settings and fill in:
- Role: Owner, Manager or Regular.
- Email: the invitation goes here. You cannot change it once it is set.
- Access: the organizational units the person can see.
- Visible projects: optional, to limit the person to some projects.
- Click Save.
A Full Member gets an invitation email and activates their account. Until they do, their card shows Pending Invitation. A Light Member appears in the calendar right away.
If you have not confirmed your own email yet, invitation emails wait and go out as soon as you confirm it.
To resend a missed invitation, open the person's three-dots menu and choose Resend invitation.
Find, sort and filter people
- Use the filter at the top to show All people, Full Members, Light Members, Pending invitations, Deactivated or Removed.
- Search by name or email, or by custom field once you have added some.
- Sort the list by name, ascending or descending.
Edit a person
- Go to Settings and open People.
- Click the person's name.
- Change what you need. You can rename a person here.
- Click Save.
To hide or remove someone who left, see Deactivate or remove a person.
Import people
Import adds or updates many people from a CSV or text file, or from a pasted spreadsheet.
- Go to Settings and open Data import.
- Next to People, click Import people.
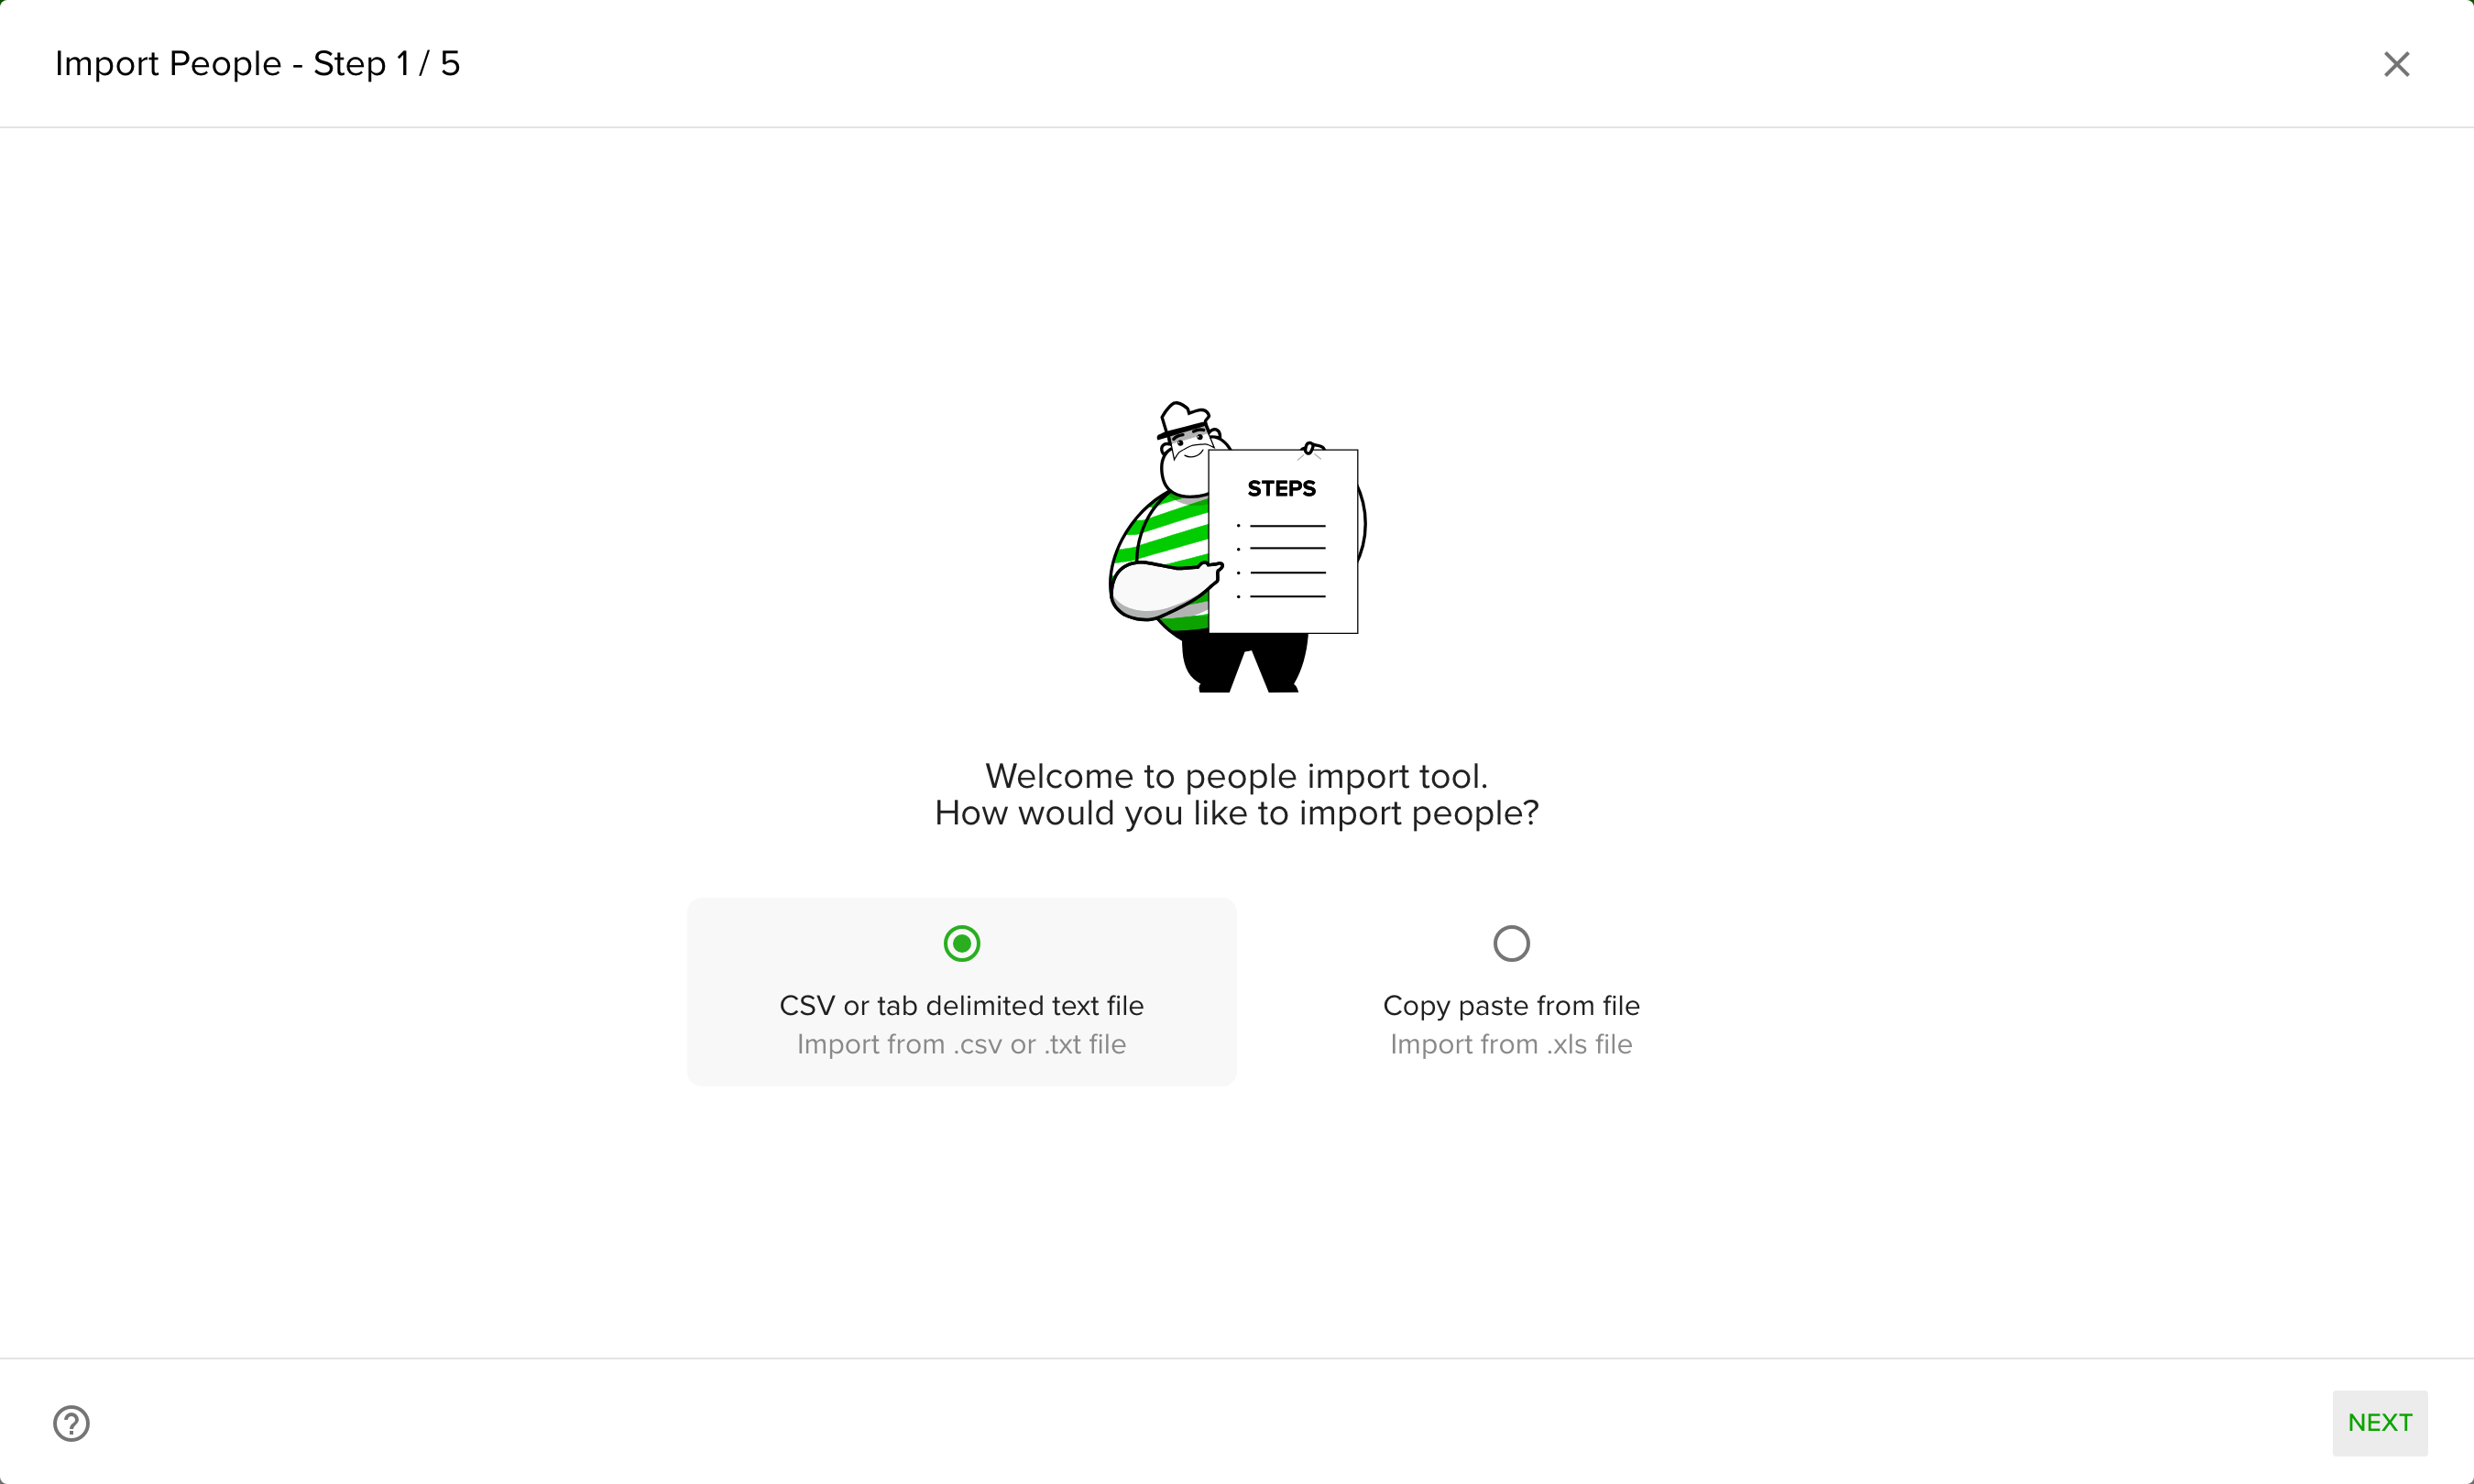
- Choose CSV or tab delimited text file or Copy paste from file.
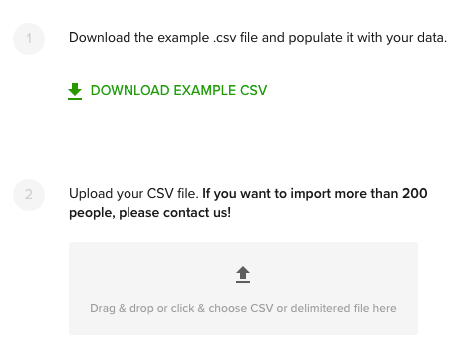
- Download the template in the wizard, fill it in and upload it, or paste your cells.
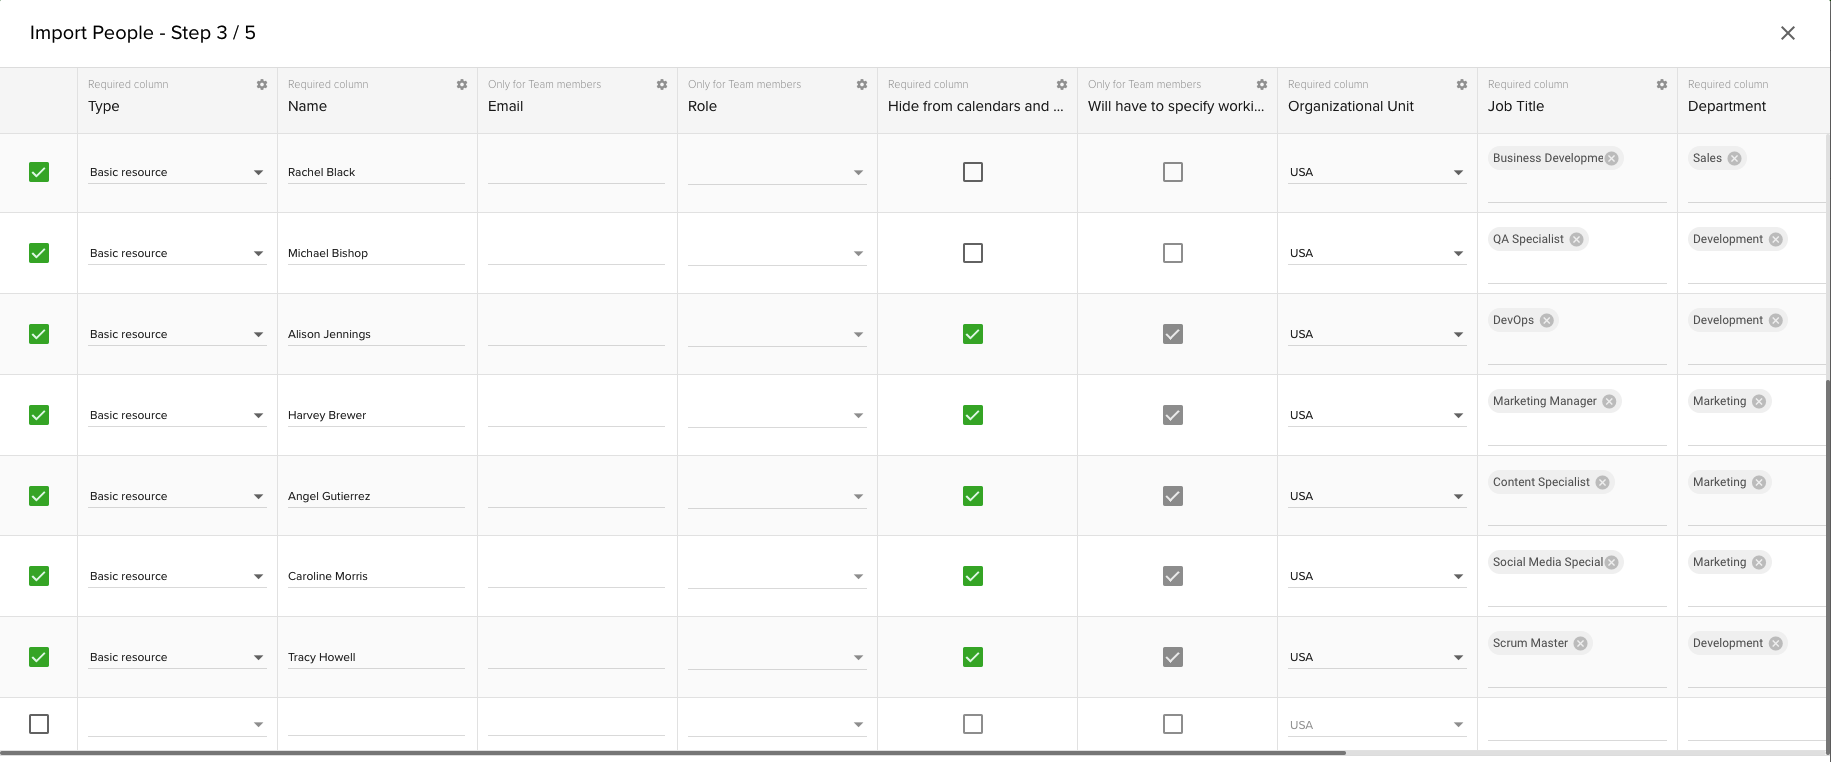
- Review your data. You can edit entries before the import starts.
Good to know:
- Owners and Managers can import. On the Startup Plan, the import asks you to upgrade.
- People are matched by name or email, so importing an existing person updates them.
- A column that is not a custom field yet creates one.
- New Full Members get their invitation email when the import ends.
- Imported Full Members still count against your seats.
- If some rows fail, the others stay imported, and you get a notification and an email.
Tips
- Add the right organizational unit from the start, so bank holidays and visibility are correct.
- Use Custom availability for part-time people. See Manage the availability of your part-time employees.
Troubleshooting
- I cannot add a person. You have no free seat. Free one up or buy more seats on the Business Plan.
- A Full Member did not get the invitation. Check the email address, then use Resend invitation.
- I cannot choose Add to calendar only. The Startup Plan has no Light Members.