

Set up single sign-on (SSO)
Let your team sign in to Teamdeck with their company credentials through your SAML identity provider.
On this page
Single sign-on (SSO) lets people sign in to your Teamdeck workspace with their company credentials instead of a separate Teamdeck password. You configure it once per workspace, and it works with identity providers that support SAML.
Before you start
- You need the Owner role. Only Owners can set up SSO.
- Your workspace needs the Business Plan. Integrations settings are not available on the Startup Plan.
- Ask your IT team, or open your identity provider, for three values: the IdP Entity ID, the SSO URL and the X.509 certificate.
- Plan to give your identity provider two values from Teamdeck: the Assertion Consumer Service (ACS) URL and the Entity ID.
Set up SSO
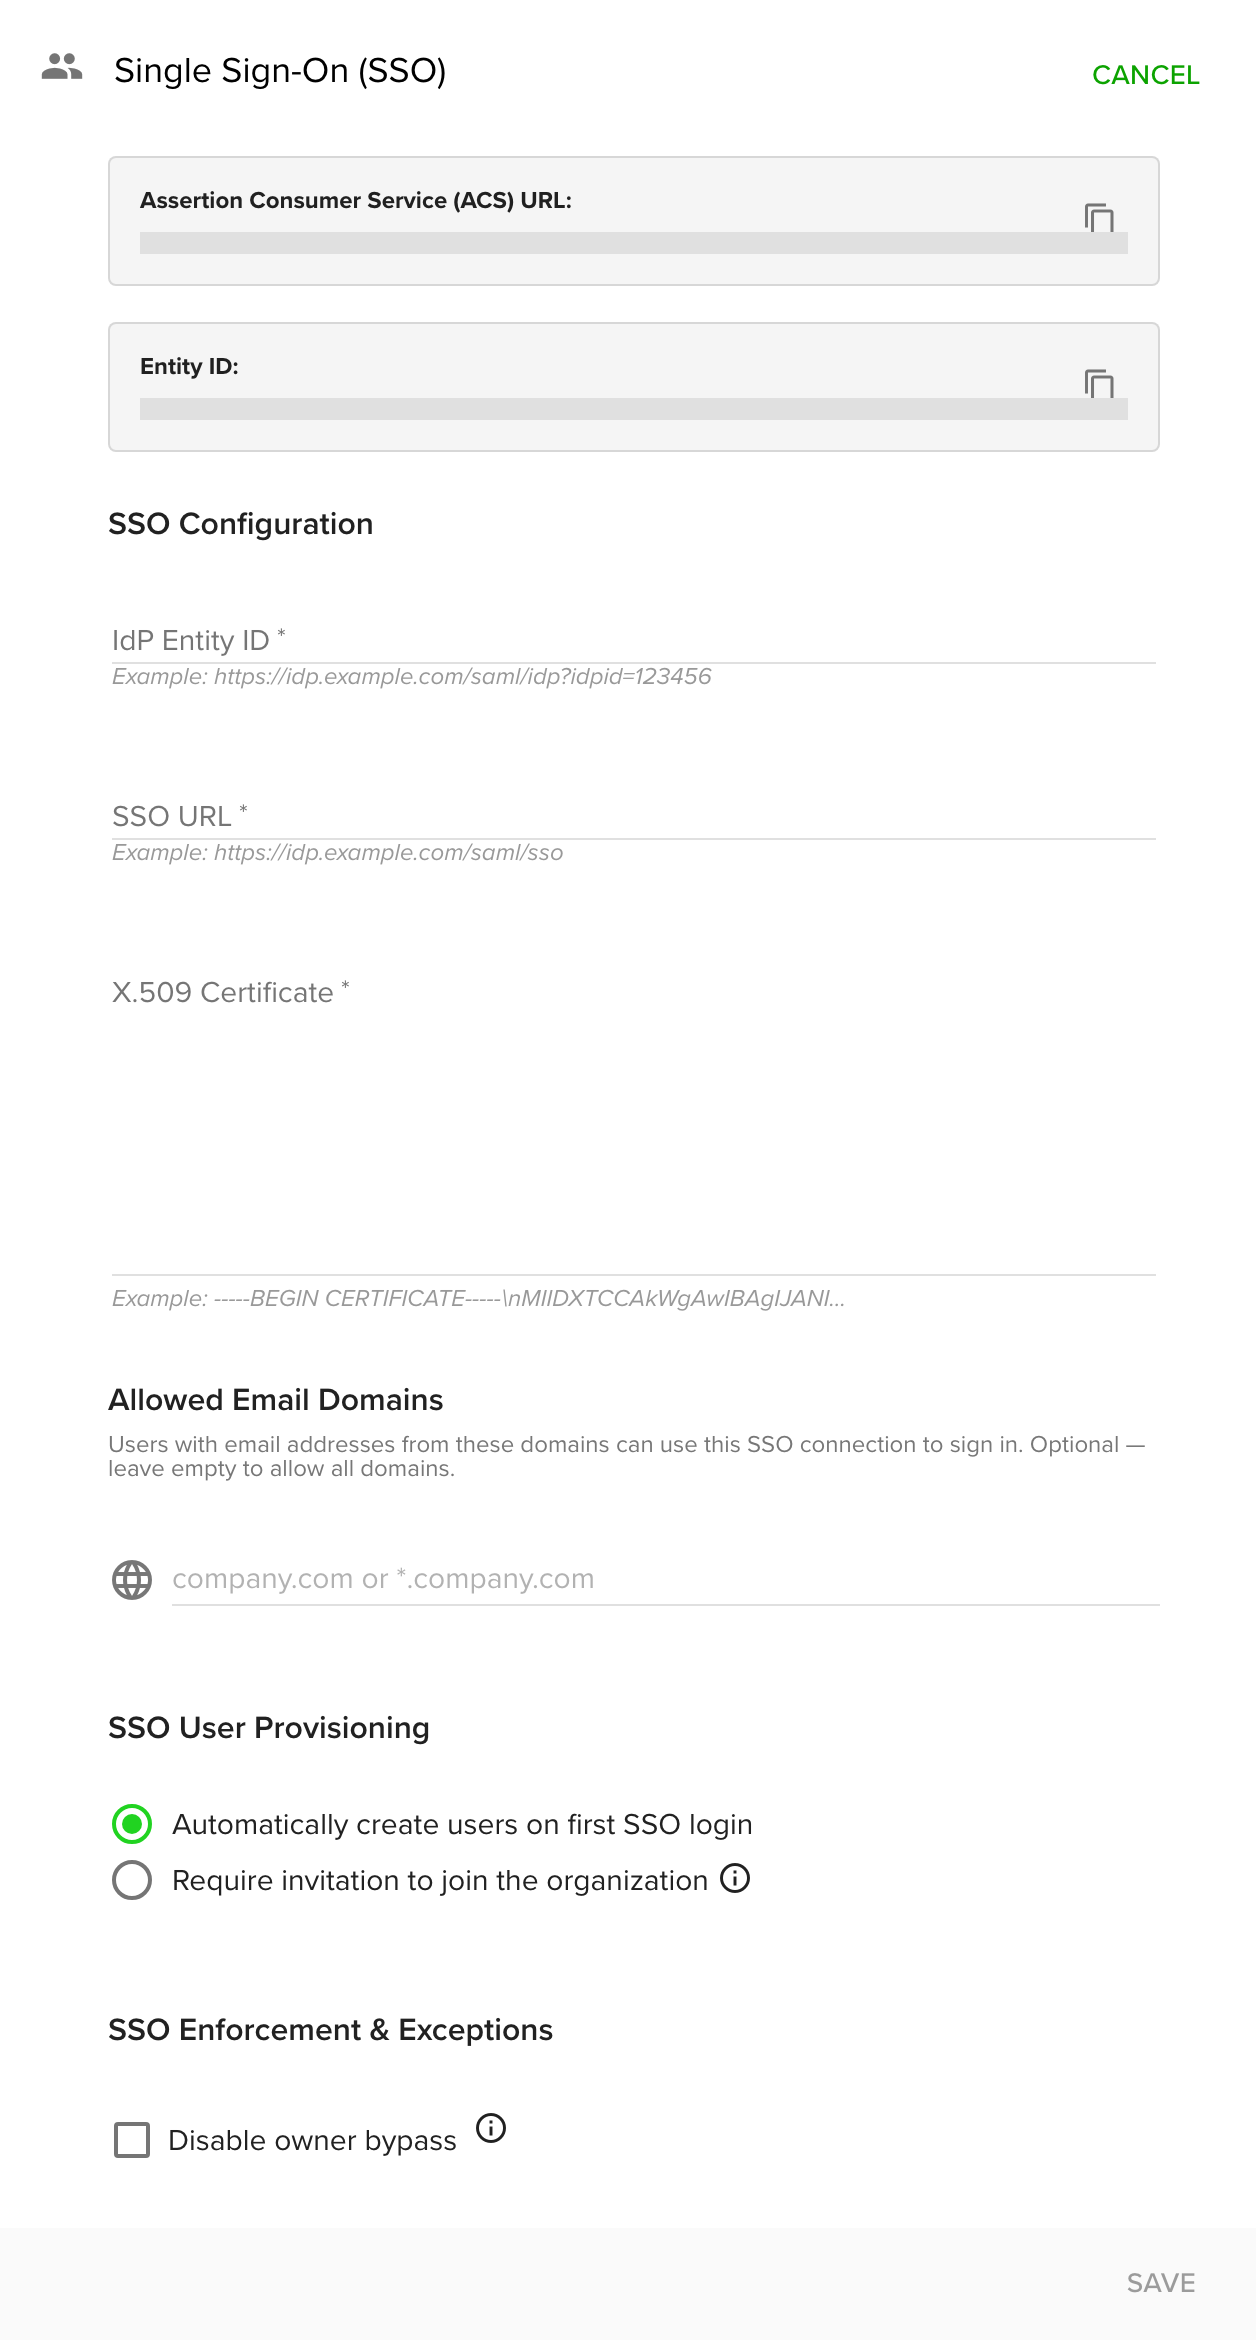
- Go to Settings and open Integrations.
- Open the Single Sign-On (SSO) card.
- Enter the identity provider details: IdP Entity ID, SSO URL and X.509 Certificate.
- Optional: add Allowed Email Domains to limit SSO to those domains, for example
company.comor*.company.com. Leave the list empty to allow any domain. The list must include the email domains of all Owners. - Choose SSO User Provisioning:
- Automatically create users on first SSO login adds people to the workspace the first time they sign in with SSO.
- Require invitation to join the organization lets only invited users sign in. Choose this if you also use SCIM, to avoid conflicts.
- Optional: under SSO Enforcement & Exceptions, tick Disable owner bypass so Owners must use SSO too and can no longer sign in with email and password.
- Copy the ACS URL and Entity ID shown on the screen and give them to whoever configures Teamdeck as an application in your identity provider.
- Click Save.
Sign in with SSO
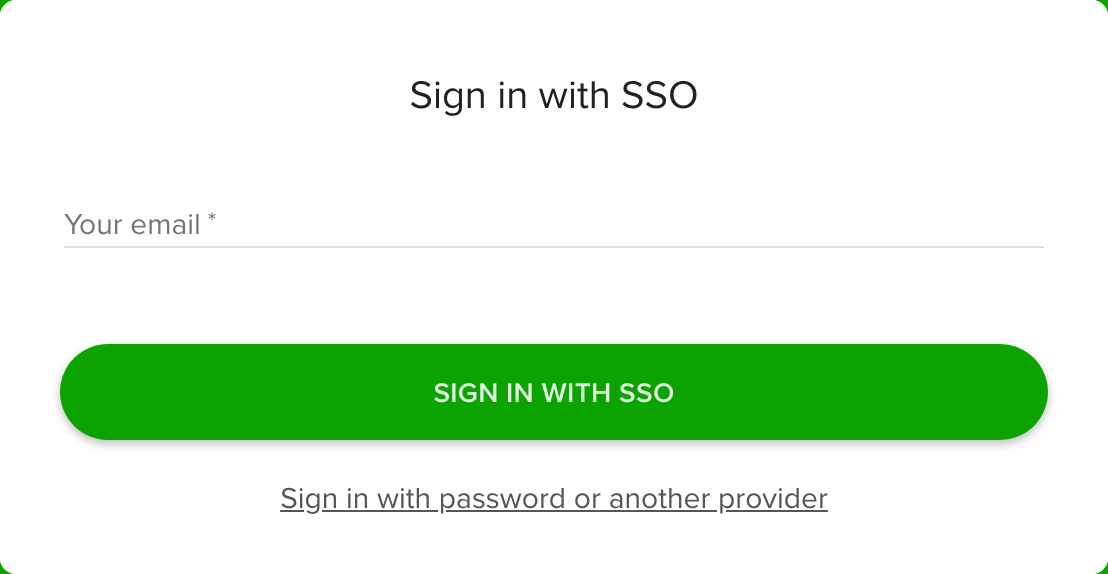
- On the Teamdeck login page, click Sign in with SSO.
- Enter your work email and click Sign in with SSO.
- If you belong to more than one workspace with SSO, choose the one you want. With a single workspace you are redirected automatically.
- Sign in with your company credentials at your identity provider.
- You land in your Teamdeck workspace, on the calendar.
When SSO is on, invitation emails include an SSO link. Invited people follow it and sign in with their company credentials, without creating a Teamdeck password.
Only active Full Members can sign in with SSO. Managers and people with the Regular role must use SSO too; only Owners can still use a password, and only while Disable owner bypass is off.
Tips
- Keep Disable owner bypass off until you have confirmed that SSO works for the Owners. A wrong setup can lock everyone out.
- Use the copy buttons next to the ACS URL and Entity ID to avoid typos.
Troubleshooting
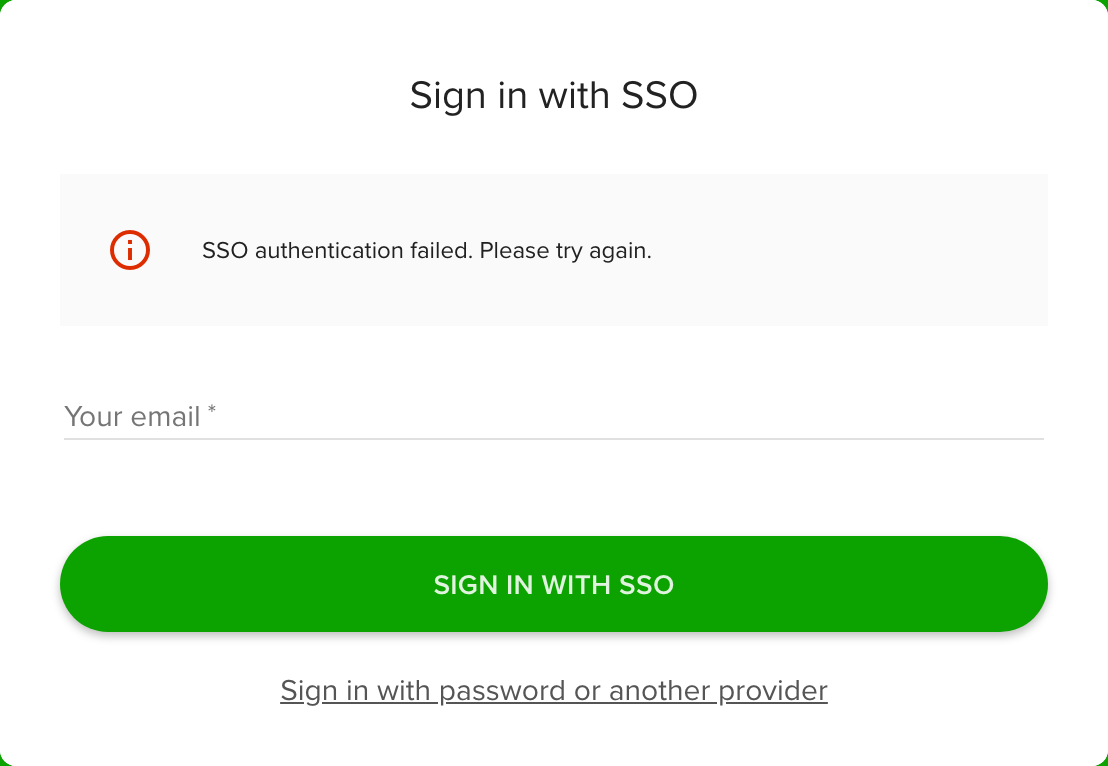
- SSO authentication failed. Check that the Entity ID, SSO URL and certificate in Teamdeck match your identity provider. Ask your IT team to confirm that the ACS URL and Entity ID from Teamdeck are set correctly on their side.
- Your email domain is not allowed for SSO login. Check Allowed Email Domains. If the list is restricted, the person's email must match one of the domains.
- User does not exist or has not been invited. With Require invitation to join the organization, the person needs an invitation first.
- An Owner cannot sign in with a password. If Disable owner bypass is on, Owners must use SSO. Fix the setup at your identity provider, or contact Teamdeck support.
- Only active Full Members can log in via SSO. Light Members and deactivated people cannot sign in with SSO.